Order online
Pick Up Your Favorite Food
Don't feel like cooking today? We got you covered - order now!
Order
Private Parties
Book your next party with us!
Click the button below to make a reservation.
Book nowpartiesStory
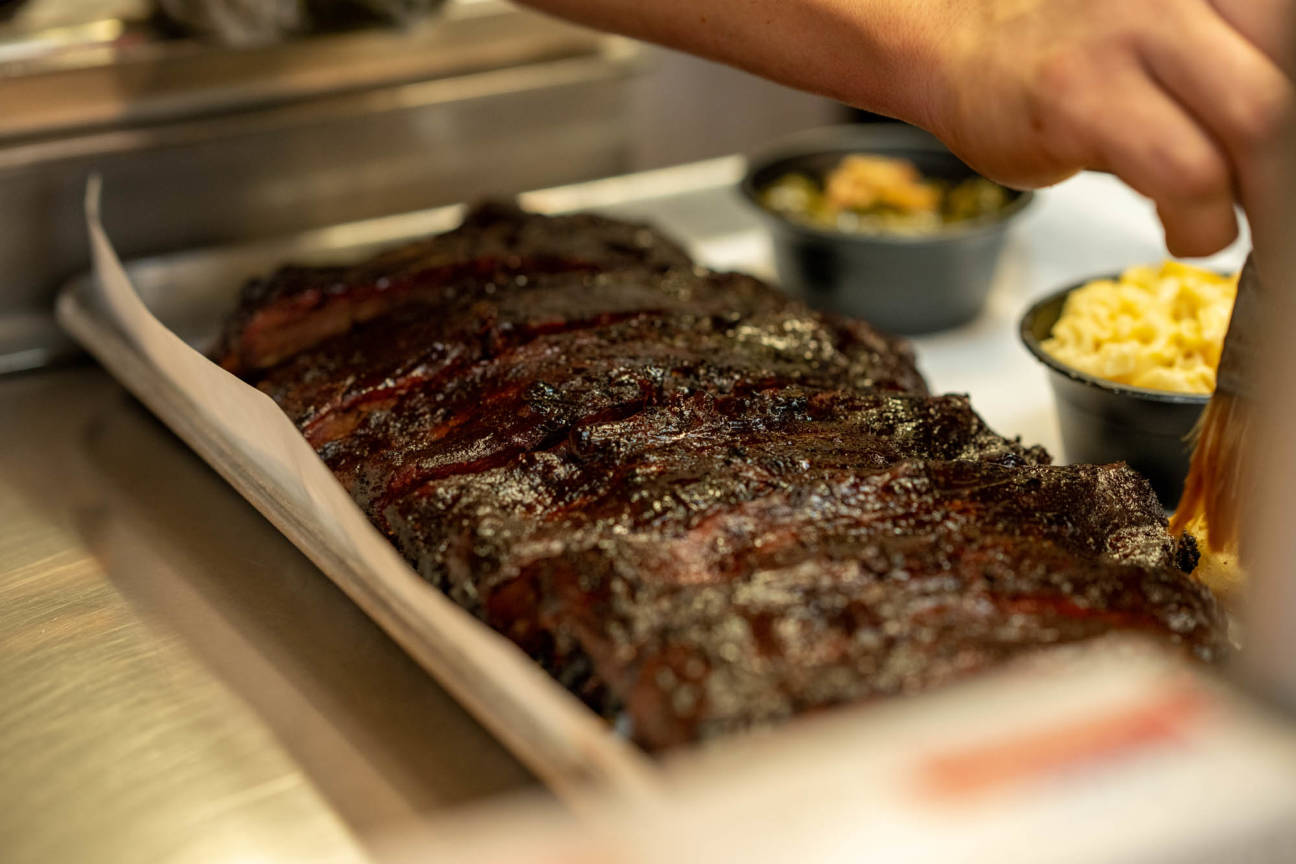
Fresh Ingredients. Killer Comfort Food.
Buz and Ned’s Real Barbecue, a Richmond tradition since 1992.
Store
Click below to get started!
Our store is the place to get Buz and Ned's gifts and sauce, when you can't go to Buz and Ned's.
Events

Reviews
review by - Yelp
Arlene L:
Everything was delicious and smoked to perfection. Their hard liquor selection is impressive as well.
review by - Yelp
Randall M:
Magnificent Ribs. The collards and okra were cooked to perfection. This place is the real deal.
review by - Yelp
Kate H:
Best bbq in RVA! We love everything about Buzz and Ned's-it's the one place my kids never argue about going to dinner!
review by - Yelp
Steven K:
Best BBQ on the west end, hands down!!! Perfectly smoked and seasoned. You'd be doing yourself a injustice by going anywhere else.
review by - Yelp
Linda S:
We love the curbside convenience they offer and love the food too! Highly recommended.
Location
8205 West Broad Street
Richmond, VA
23294
Hours
Mon, Wed, Thur, Fri, Sat
11:30 AM - 8:00 PM
Sun
11:30 AM - 7:00 PM
Closed on Tuesdays